Christmas Eve Paella

As I sometimes do, we took a break from tradition this Christmas Eve dinner. We feasted on an as-authentic-as-I could-get-it  Spanish Paella!
Santa brought me this real-deal pan, large enough to feed a crowd ya think?


Since this was the pans maiden voyage, I had my hands full so the demo photo-shoot is a little lacking. I will do a full demo next time I make it. But you will get the idea...


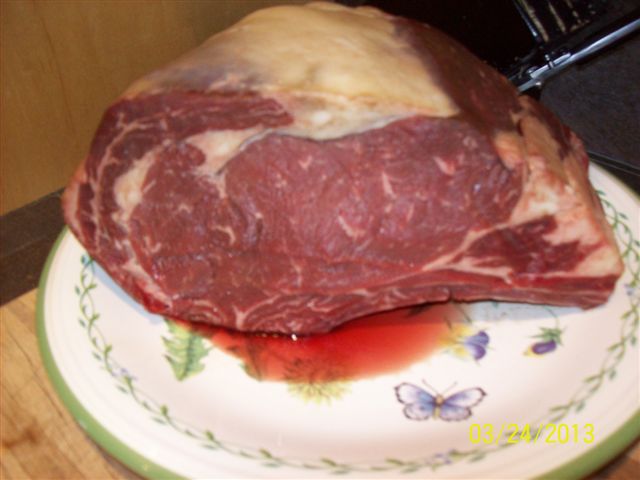
I started by ordering and gathering Saffron and Spanish bittersweet smoked paprika- both essential flavors for paella. I seasoned the chicken with paprika, rosemary, thyme, salt & pepper...wait the saffron comes later!

This is all dark meat chicken thighs and Mexican chorizo sausage. I wasn't able to locate any "Spanish cooking chorizo" but plan to hunt some down next time. The Mexican had good flavor, wasn't hot at all and was even a little sweet. Good but not what I expected.
 
Then next prep item was for the "Sofrito"
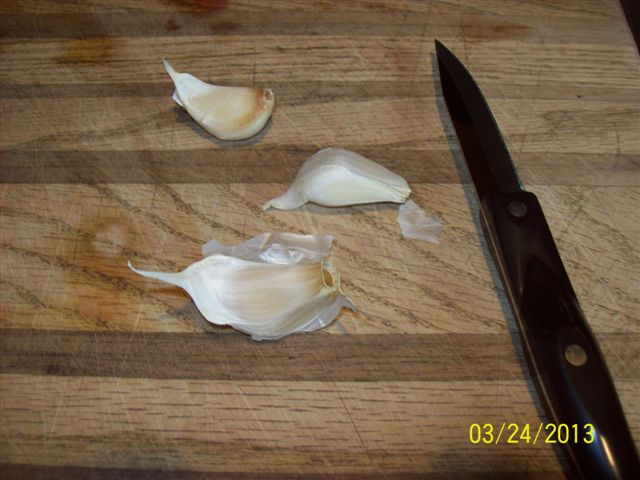
You need twice as much tomato as onion and chopped garlic to taste.

Slice the tomato and onions in half and grate on a box grater. Some online demos I looked at used a food processor- I think this is a better technique. The tomato skin could get tough during cooking if you used a processor.


By grating the onion and tomato you get an amazing texture especially for the tomato. I plan to try this technique on a tomato bisque soup soon! Grate it all the way down to the skin and discard the skin. Keep the onion and tomato separate for the time being.
Ok here is where the demo gets a little spotty! My heat source is a work in process, this is a "fire pit" propane burner. It worked pretty good, but I have a couple ideas to make it better next time but it will involve some welding-- Linda, I'm talking to you!


I heated up the pan and some olive oil, that's what's in the green jug and put the chicken and chorizo on!

Then we cook the meat, I wanted it all the way done before moving on because once the rice goes in it actually goes pretty quick. Next time I will not use bone-in chicken, too hard to cook evenly in this vessel. Also- I wound up cutting up the chorizo with scissors. Loose meat next time.
 
Somehow we missed a picture of the Sofrito. Once the chicken and sausage were nearly done, I moved them to the outside edge of the pan. In the center, in the remaining cooking liquid and olive oil, I added the grated onion and garlic. Slowly cook down the onion caramelizing it, then add the grated tomato. Cook gently to get the Sofrito to brown a bit in color from the caramelizing.
 
Now the rice... At the end of the day it's all about the rice. The meats, seafood and vegetables are all well and good but it's the rice that makes it Paella.
 
Paella rice is a medium grained little fat white rice. "Bomba" rice. It looks like risotto rice but it is different. In risotto, you have to stir constantly. In Paella, once the stock goes in you don't touch it again.  Use the right rice.
 The rice is added in the shape of a cross. I'm sure this is significant, I will report more on that next time. You can barely see the Sofrito beneath the rice. 
I used the stock from the clams and mussels I cooked off earlier, it was warming on the BBQ grill burner. A tea was made with a cup of stock and a pinch of carefully toasted Saffron.  First the rice was stirred into the Sofrito until well coated and evenly spread over the bottom of the pan. Then I added the Saffron and stock "tea' and gradually added more of the stock until the rice was just covered.

 The rice cooked around 10-15 minutes before it started to come up to the top and the stock was absorbed, remember, NO stirring!

In goes the clams and mussels. These can go in uncooked (which is typical) but since I wanted the stock, I cooked mine ahead.

 Don't forget the prawns and a few king crab leg pieces for looks!

 Turn the prawns over. Sprinkle in some frozen peas.
 
 Let rest under foil, heat off for about 10 minutes. I never did quit get to the ideal toasted rice bottom called "socarrat" . That is going to take some practice!
Add some lemons. Paella is traditionally eaten right out of the pan. I served it with some tortillas and salad. Everyone loved it!
 
Merry Christmas!


Fall Kick Off 2013- Crock Pot Pumpkin Apple Butter

How is it that summer has come and gone already? Is it just me or are the days screaming by at an absolutely blistering pace?

I spent most of the fall in in the "other" Washington. Mostly business but I did squeeze in some pleasure days with my best guy, Brant <3

Oddly enough, our fall color here is so spectacular this year that this picture is a view from my own backyard.  These are grape leaves climbing power lines with a glorious maple in my neighbors back yard.


This recipe came out of a "cabin" magazine I picked up in the Delta Boardroom at DCA- It pays to travel with a "Million Miler". Thank you Suez!
  
Crock Pot Pumpkin Apple Butter
6 medium-tart apples (Granny Smith) **Mine were huge so I used 4
1 T cinnamon
1/4 c brown sugar
2 t pumpkin pie spice
1/4 t ground cloves (I omitted-didn't have any)
1 t vanilla extract
1 15oz can pumpkin puree


Peel, core and chop apples into small pieces
Put chopped apples into crock pot with other ingredients
Stir together and cook on low for 3-5 hours stirring occasionally so it doesn't burn
After about an hour, I didn't think it was "liquid" enough so I stirred in about a half cup orang juice
I cooked on low for 3 hours stirring about every hour then turned it to warm for one more hour.

Once the apples are good and soft, blend with immersion blender until fairly smooth (or transfer to blender or food processor-but I would cool a bit before doing it this way)

The recipe states it makes about 3 cups. I used only 4 apples and yielded 5 cups...FYI

Store in airtight containers (such as jars) Keep sealed in refrigerator for 2-3 weeks (bet it lasts longer)
Or freeze for later use.


I let these cool a little before putting the lids on, I put the little jars (1cup capacity) in the freezer.

Here is my constant and faithfully underfoot helper- Momo! age 1 year last week!


Salt Crusted Garlic Studded Prime Rib with Roasted Veggies

Wow, where does the time go? I can't believe it is almost summer! This whole working full time thing has got me very behind on all my fun stuff. I have a small quilt that has been on the frame for 2 months. Well, maybe I will get it done in time for Mia's NEXT birthday. You will see by the date on the photos that I have been meaning to do this blog entry for quite a while.

Here is a tutorial on my world renown Salt Crusted Prime Rib. You will also see them called a standing rib roast.
You will need: A roast; this one is about 4 pounds, Garlic, Black Pepper and Kosher Salt, meat thermometer and a baking pan.

 Here is the roast, that little strip on the left is called the lip (and is my favorite piece--yum)
 It is also bone-on. If this were a larger roast I would cut and tie it. This is when you slice the bones off the roast cutting right up against the bones so they all come off together--then you tie the bones back onto the roast with kitchen string during cooking. Cutting the bones off just makes it easier to slice and serve. Your butcher will also do this for you. Even at Fred's or Safeway- you just need to buy at a time when the butcher is at the store...
 Ahhh garlic. Peel several cloves of garlic (the more the merrier and it depends on the size of your roast.
  If the cloves are really fat I usually slice them in half LENGTHWISE.
Pierce your roast in an "X" about an inch into the meat , every couple inches. See the fat on the top? It's called the fat cap and you want to leave it intact (unless is super thick, then you could shave a bit off)
 Poke the garlic cloves into the X's
 This is where the term "garlic studded" comes into play...
 Next, LIBERALLY pat black pepper all over the top of your roast.
 Now for the salt crust- gather a bowl and some water.
 Gradually add water, stirring it into the salt until you can make a loose ball with it
 Now make a base layer of the wet salt about the same size as your roast in your baking pan- no need to grease the pan or anything.
 Place your roast on the salt bed, bones down, garlic on top
 Using a spatula, gently pat the wet salt on the top of the roast try to get at least a 1/4" thickness.
 Now, this is trickier, gently pat wet salt on the sides of the roast, some will fall of but try to get as much coverage as you can.
 It's very important to have a meat thermometer for a roast. Poke the thermometer into the center of the thickest part of the roast. roast in a 350 oven about 20 minutes per pound and pull the roast when the temp is about 130-- Then let the roast rest for at least 15-30 minutes out of the oven; it will continue to cook and the juices will settle bringing the temp up to 140 which will be med-rare in the very center--medium on the edges where the roast is smaller. The end cut is the 2 outside slices. Brant and Lindsay are "butt cut" eaters!
 Roast some lovely veggies to accompany your beautiful Prime Rib. I have Broccoli, Cauliflower, Red Onion, Fennel and Mushrooms with Olive Oil and Penzy Lemon Pepper for seasoning.
 Slice your veggies as close to the same size as possible. If you haven't tried fennel- you are missing out, its a real treat and very good this way.
 Place your sliced veggies in a baking dish, drizzle with olive oil and shake on the lemon pepper- don't be shy with your seasoning!
 This can go in the oven with your roast during the final 15 minutes and while the roast is resting. Toss the veggies around after about 15 minutes and test for doneness. Dont' overcook them, you want them to be a little al dente'
 I'm serving a terrific Alexandria Nicole 2009 A Squared Cabernet with this roast. It is almost brick color in the glass, aroma is plumb-y goodness. It was smooth with a slightly tannic finish. Not as complex as their other Cab- but it was less expensive and younger.
 OK- here is our rested roast. Pull the Thermometer out (might still be hot-watch out)
 Lift off the crust- see how the salt is now solid? Throw the salt away.
 I have now cut the bones off- If this had been cut and ties before cooking you would just have to cut the kitchen string and remove the. Bones go immediately into a zip back in the freezer- Beef Barley Soup is for another day! I will try to remember to blog it next time so you can see it. It's one of Brant's favorite of all the home-made soup I make.

 AAAAHHHH a perfectly medium rare prime rib roast. It don't get much better then this. Enjoy!