Vac-Pak "How do I love the? Let me count the ways"

Today I must extol the virtues of my Food Saver Vacuum Packer. I am on my second unit in about 10 years. It is approx $200 initial investment and well worth the money. You will recoup this expense in savings by buying food in bulk then packaging in your desired sizes and freezing for later use.
Meat purchased in family packs is normally a $1 or $2 cheaper per pound. If you buy cheese at Costco or Cash & Carry in large packages you can also break that down into smaller packs and cheese freezes easily.
Many of you know we make our own sausage and we also grind our own hamburger by buying sirloin tip steaks when they are on sale for $3.49 or $3.99 per lb; this is waaaay cheaper then buying the extra lean hamburger and you know EXACTLY what is in it.

I will now demonstrate how to blanch and freeze fresh green beans. I have been doing this for several years. You wind up with lovely packs of green beans that taste as they should that can be enjoyed all winter. You will need:
Beans, Big pot, Bus tub or sink for ice bath, Ice, Big collander, Vac Bags, Vac Packer

Buy your beans at a local market-we have great green beans right here in the Puyallup Valley. I bought this 15 lb box for $18.95 at Valley Farms on River Rd.

Get your BIG pot on the stove and fill with water, bring to a boil--no salt. Mine has a strainer basket in it so it is very easy to remove the beans-if yours doesn't you will need to use tongs to remove when the time comes.
Prepare your beans by cutting the little end off where the bean was attached to the plant. No need to cut the other end off.
Gather them up in a handful and do a bunch at a time. I toss into a bus tub (we bought for making sausage but they are very handy to have around) I like to leave mine whole but you can cut into smaller pieces if you like.
When your water is at a full boil, drop beans by handful into the pot- careful not to overcrowd or flood your pan!
Bring back to a boil (takes a couple minutes) then boil for about 3 minutes. Beans should be "al dente" which means "to the tooth" in Italian and means firm to the bite.
After blanching, place the beans in an ice water bath. This shocks the beans and stops the cooking process. Bring your water back to a boil to get ready for the next batch. Notice the nice vibrant green color the beans remain. mmmm

When cool-remove from the ice bath and drain. If you don't have a big tub for your ice bath, you can use one side of your sink--just be sure to clean it well and rinse any soap or comet out of the sink.
Fill your vac-pack bag with the desired portion and vac and seal accordingly. I portion in about one pound packs which is about 4 one cup servings.

Date your bags and freeze! My box of beans yielded 18 packs of beans so that is $1.05 per bag. They are fresh, local, no additives or preservatives and you did it yourself.
These will last in the freezer a year (if you don't run out!). You don't have to buy 15 pounds- buy 5 and give it a try; you can use zip top freezer bags but with out vac packing them you won't be able to get all the air out and they will only hold about 2 months and may get ice crystals in them which will make them a bit watery but still pretty good.

My famous baby back ribs and Wine Corner

Has it been a month already since my last post? Time is really flying by and we have been busy enjoying this great summer weather. One of my stand-by's for camping meals (especially for a group) is my baby back pork ribs.
This is a 3 step process so planning is everything. Dry rub overnight-braise-grill.


Ribs:
I usually pick them up at Costco or Cash & Carry ranging in price from $2.99 to $3.99 per pound. They come in packages containing 3 racks of ribs. (Yield is about 9 servings of 4-rib sections).

Dry Rub:
1 1/2 C Brown sugar (light or dark)
1/4 C Kosher Salt
1 t Black Pepper
1/4 t Chipotle Pepper (ground or Chili Powder)
1/2 t Smoked Paprika (optional or regular paprika)
1 t Cajun Seasoning (good 'ol Penzy!)
2 t Sweet Curry Powder (yellow)
Mix rub ingredients in a bowl.
Line a deep roasting pan with 2 layers of foil overlapping a few inches to hang over the top.

Lay the racks in the pan "meat" side up "silver" side down, they will likely overlap a bit or you may need to use more then one pan depending on how big your pan is. **NOTE-you don't have to take that "silver" off, these babies will be so tender you actually need it to hold the meat on the bone!**
Coat liberally with the dry rub on the top/meat side only.
Cover the ribs with another layer of foil pressing it down against the meat and folding over your overlap edges--Refrigerate overnight (or a minimum of 4 hours).
Good morning! The next step is the braise, braising is cooking at low temperature in a liquid. This technique is used for making tough cuts of meat tender, liquid can be water, stock, beer, apple juice or hard cider or something a little more special as below. Use this same technique with a beef or pork roast for succulent results.
Braise Liquid
2 C White Wine (I like to use a Chardonnay)
1/4 C Vinegar ( I used white wine vinegar but cider is great too)
2T Honey
1 T crushed garlic
Dash Tabasco or Franks
Dash Worcestershire sauce
Mix braise ingredients in a bowl and gently poor over the top of your now-24 hour-rubbed ribs. Cover again with the foil.
Bake at 300 for 3-4 hours until meat is tender and pulls away from the bone. Check them after about 2 hours and add more wine or water if needed, you don't want your liquid to dry out.

These are ready to eat now, you can serve immediately with a little BBQ sauce on the side.  To serve later, let them cool a bit before putting them back in the fridge. When you are ready to serve them you can just heat them up on the grill. If you want you can coat with BBQ sauce on the grill. I usually just serve it on the side because these babies don't even need the sauce, they are amazing just as they are. Enjoy and remember, anything worth having is worth working for.

Wine Corner: I have been remiss in getting pictures of bottles for you but I do have this one. Suffice it to say that does NOT mean I haven't been tasting new wines and taking tasting notes tho :)

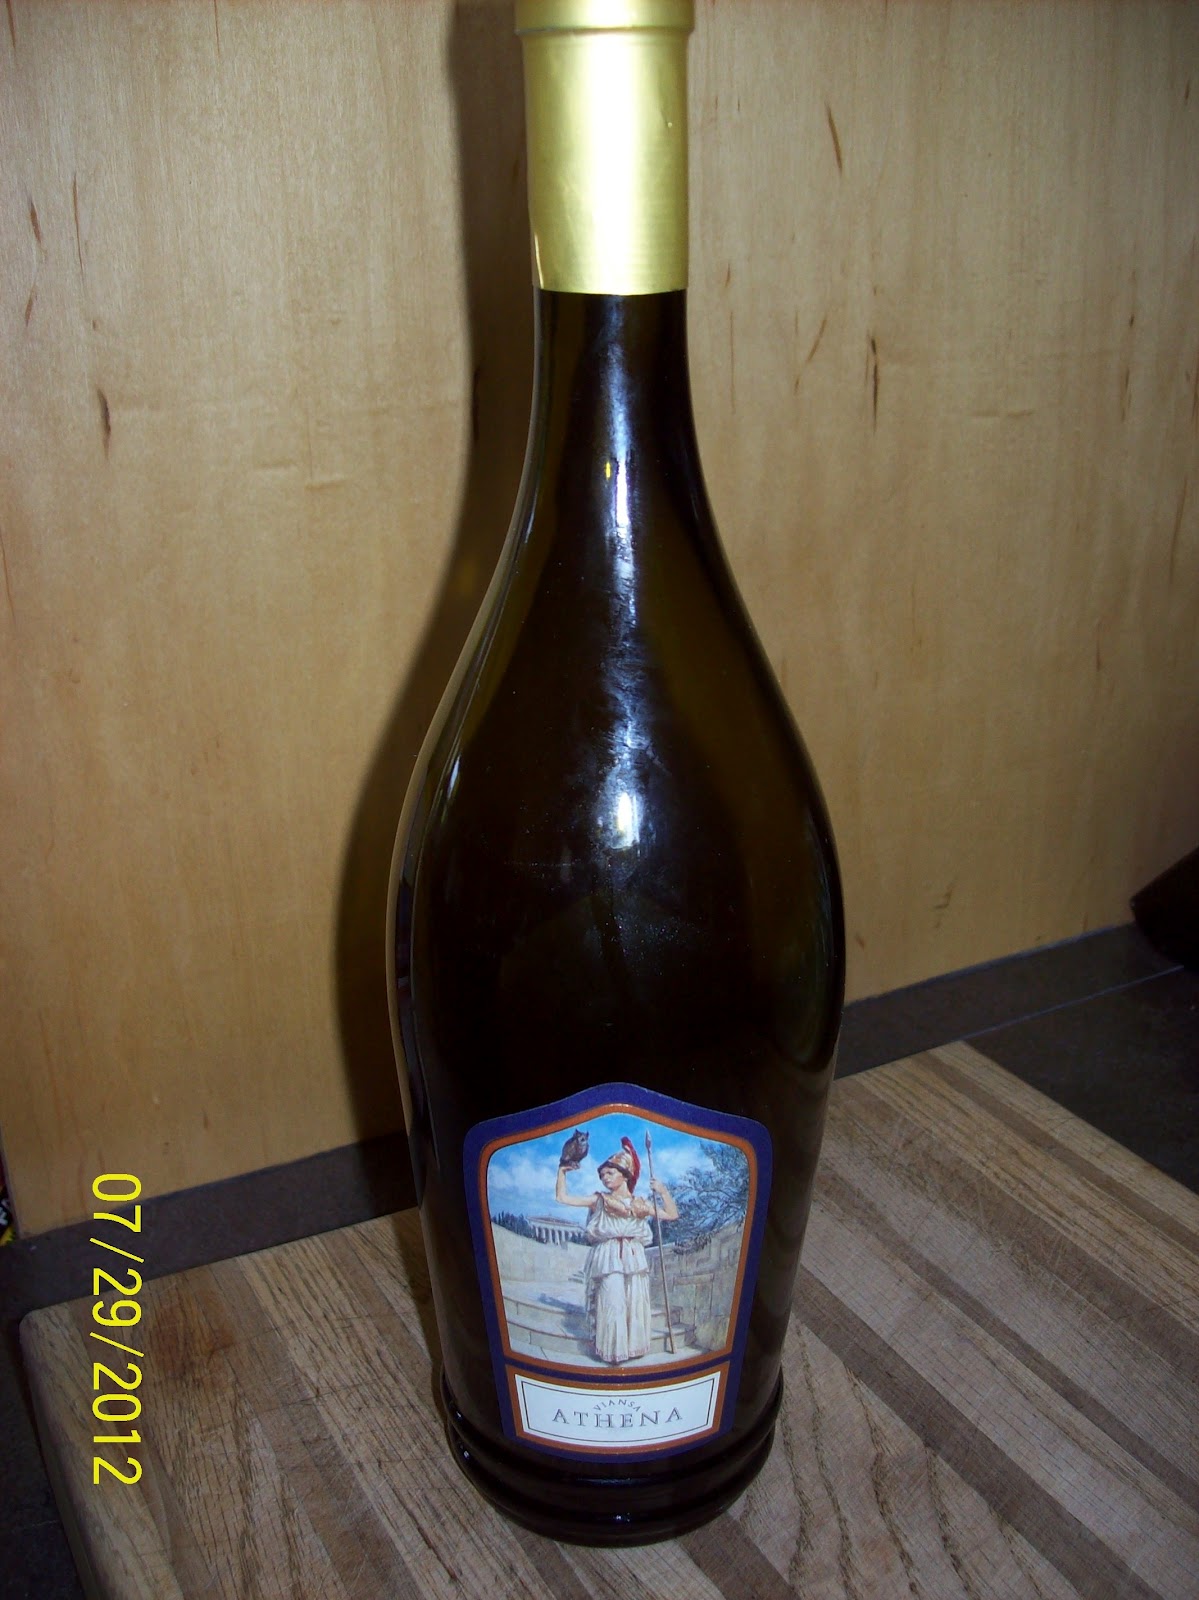
2007 Athena Dolcetto from the Viansa Winery in Sonoma County CA.
Dolcetto is a black (red) grape from originating from the Piedmont Region of NW Italy. This wine appeared clear and ruby in color. Aroma was light and pleasant with fruit notes. Taste was medium dry with a low acid soft finish. Pretty easy drinker especially in this hot weather, chill it a little so it is not at "room temp" of 80!!

Shish-ka-bob and Wine Corner

I can't believe it is August already! The summer is flying by. Here is a recent grilling adventure; super easy and fast and ingredients most will have at the ready.

1 lb sirloin tip or round steak (great use for these less expensive cuts)
2T Olive Oil
3T Red Wine Vinegar
1 clove garlic-minced
1t fresh rosemary (use less if not fresh) finely chopped
Salt & Pepper to taste

Cut the meat into 1 inch squares (tip-Cutting meat when still partially frozen yields more even cuts)
Place meat in zip bag or plastic container with lid, add other ingredients- toss to coat. Marinate in fridge at least 2 hours--4 is even better. Don't freak out if the meat turns a little brown on the edges during a longer marinade--the vinegar is "cooking" the meat--won't hurt a thing.


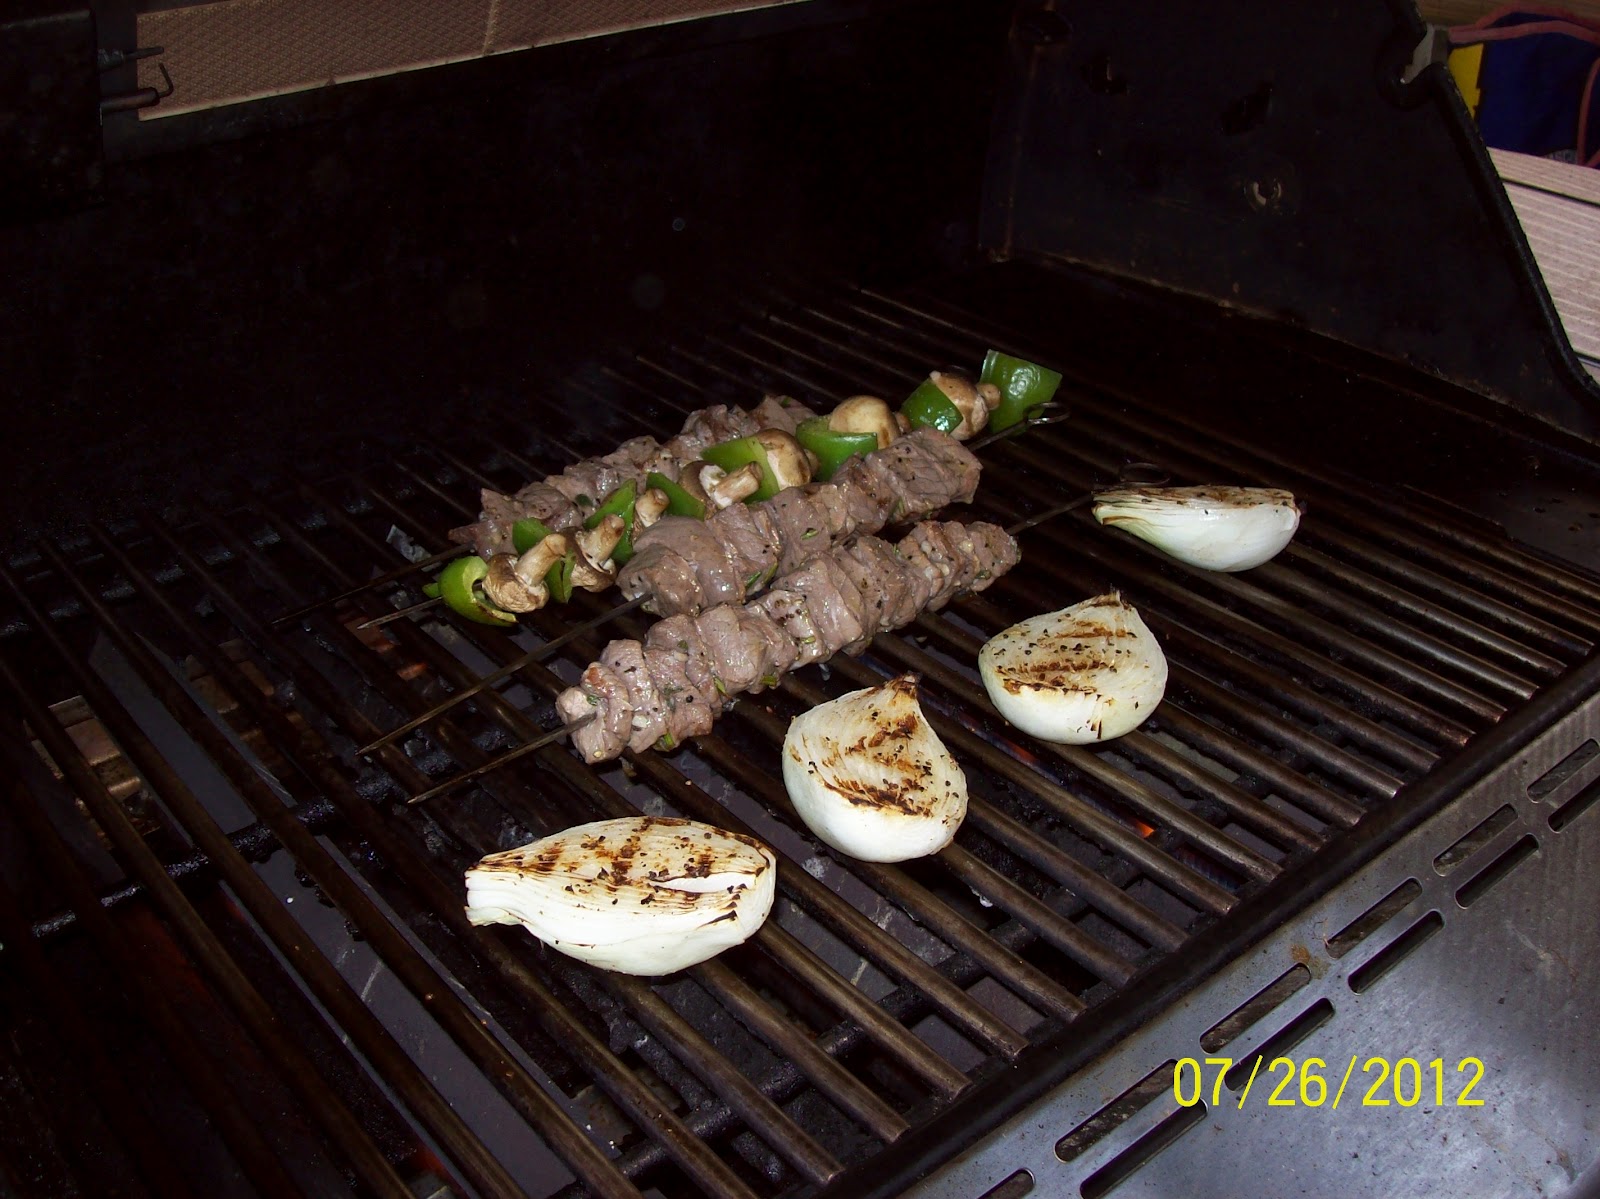
After marinading for 2-4 hours, skewer the meat shish-ka-bob style. If you want to add some veggies, skewer away! (tip-skewer meat and veggies separately as they cook for different times-this way you don't get mushy peppers waiting for the meat to get done). Grill Away!

We have a new favorite way to enjoy Walla Walla Sweets. these came out of our garden and since they were smallish and oblongish I cut them "longways". If you buy nice round fatties at the market, cut them into 1 inch slices the other way.
Spray the top/cut side with spray olive oil, seasoning as desired; I like garlic salt and pepper and/or Cajun but try any of your fav's--don't be scared!
These were longways cuts and placed on the grill cut side down- I would season both sides if I had "rounds" cut. You want the sugars in the onion to caramelize so start these off med heat to get them going. You do want a bit of char on them too...Every grill is different so you will have to experiment with time and temps. Yum check out the grill marks!

As for Wine Corner I have 2 from my wine club at Steppe Cellars; a red and a white.

2008 Steppe Cellars Syrah from the Stone Tree Vineyard-Wahluke Slope AVA WA.
This one showed purple-black in the glass (and on the tongue) and the aroma led with spice and black cherry. Taste was traditional Syrah peppery-spicy with a nice long finish, nice balance not to acidic. Very much enjoyed and around $25 bucks a bottle.

2008 Steppe Cellars Riesling--Rattlesnake Hills AVA WA
This one was a light straw yellow with an almost tropical nose. I found it to be medium sweet apple-pear-pineapple. It was a good way to offset my rich and spicy Verde-Blanco Crab Enchiladas.
* Note--Steppe does a DRY Riesling that is much more to my liking but this one was good too and around $18 a bottle!

Wine Corner Chapter 4

Forth of July has come and gone and in typical Northwest style, summer arrived on July5th! We have been privy to lovely summer weather with a few needed rainy days and some rare and exciting thunder and lightning storms.

While I have not been spending much time in the kitchen in the heat, it has not slowed me down from trying a few new wines.


This 2007 Saviah Cellars Red Blend called "The Jack" was hand carried to me by my friend Suezy  from her trip to Walla Walla and the Columbia Valley AVA.
Watch out, this dark beauty with it's black plumb-y goodness is a medium bodied, well balanced easy drinker that you will make you wish you had a second bottle to pop before the first one is even done!
Thank you Suez, I will be picking up a few of these when we trek to Walla Walla this fall!

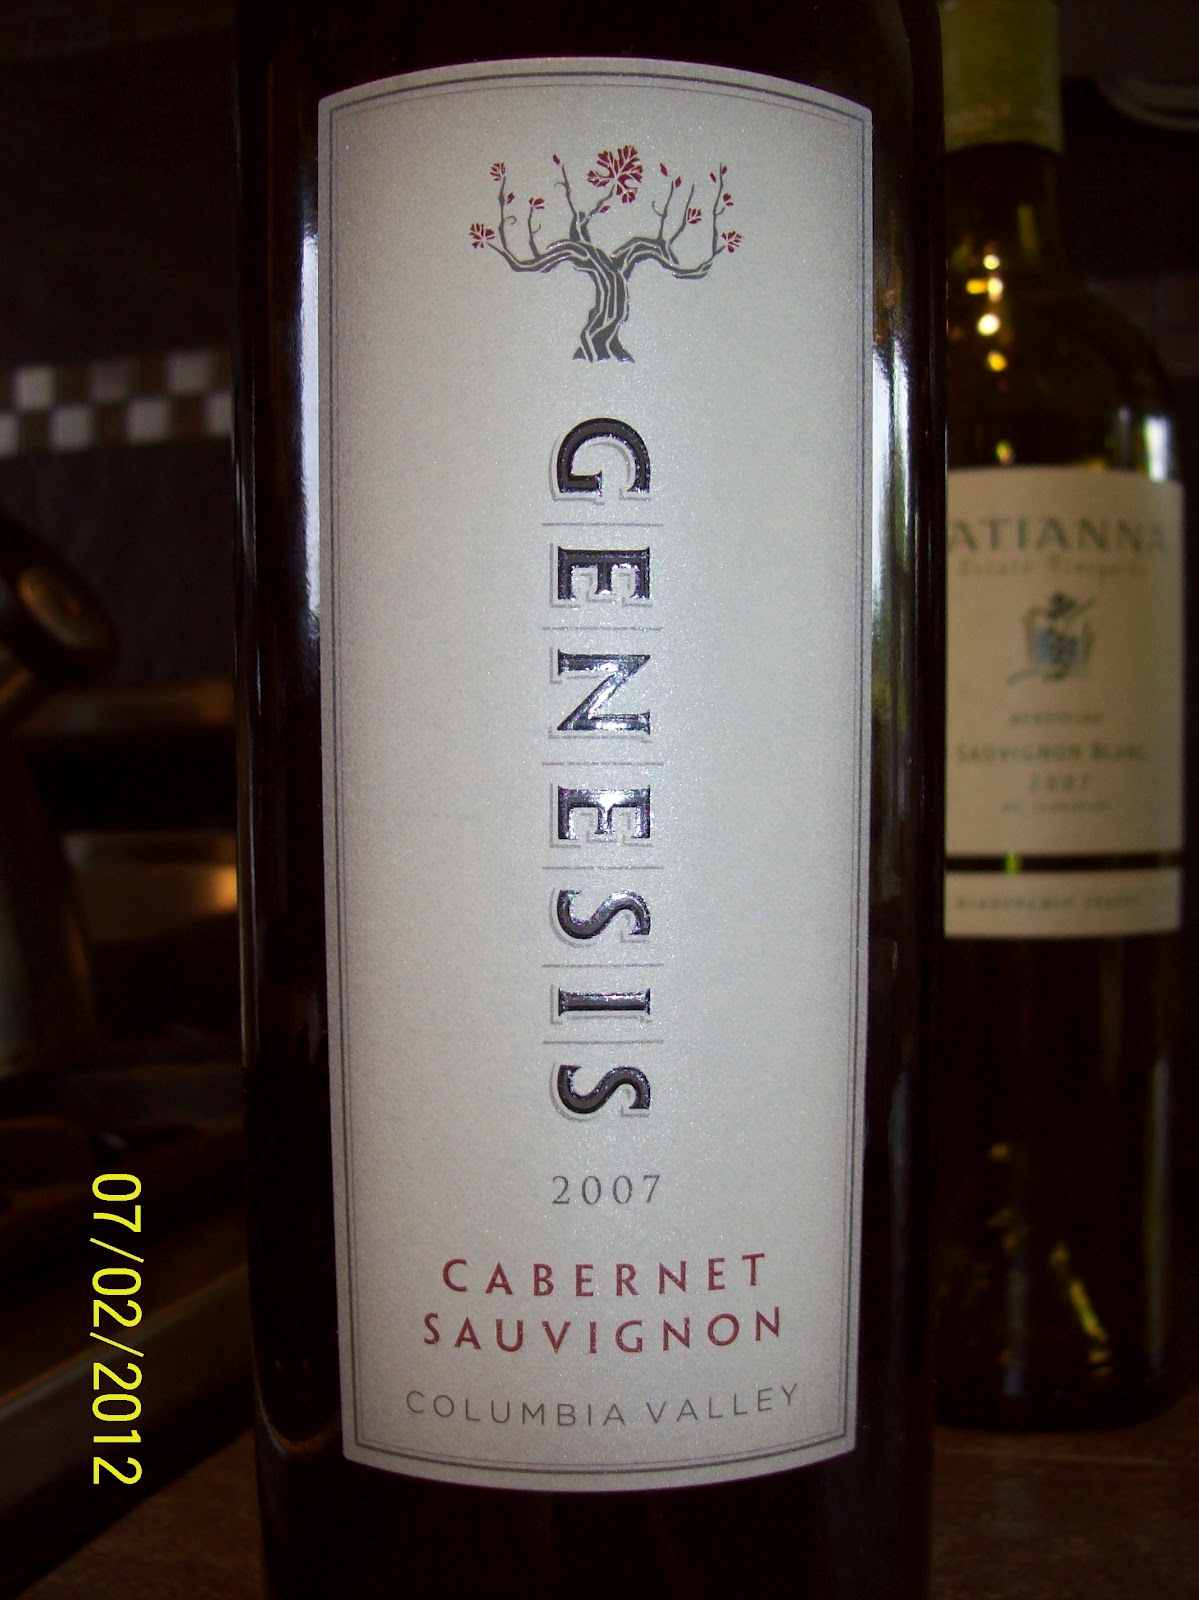
Our friends at the Hogue Cellars, also in the Columbia Valley AVA deliver to us this 2007 Cabernet Sauvignon dubbed Genesis. Ready for your purple tongue? Full bodied, I found this one leading with a little spice and a medium-long tannic finish. I like this style of Cab and it's a real bargain at Grocery Outlet under $10 bucks.

In the summertime we tend to pick up a few whites for refreshing accompaniments to lighter summer fare...
2007 Patianna Estate Vineyards Sauvignon Blanc from Mendocino.  I really liked this one. The color was a very pale yellow and almost effervescent. Initial aroma was faintly yeasty and the taste was round and nicely acidic affording a full mouth feel. I think I grabbed this one at Grocery Outlet too.

Recipe side note--I wish I would have shot a couple pics for you but this is a very simple and elegant salad or side dish:  Grilled Romaine Lettuce with Dijon Dressing

2T Olive Oil
2T Lemon Juice (use fresh--juice of one lemon)
1T Dijon mustard
1T Anchovy Paste
1-2 Cloves garlic minced
salt & pepper
pinch red pepper flakes

Mix dressing ingredients together briskly-it will emulsify slightly; chill while the lettuce cooks. Leaving the core of the lettuce intact, slice the romaine head in half LENGTHWISE. Lightly drizzle the cut side with olive oil (or hit it with spray olive oil) and salt & pepper. Grill cut side down 3-5 minutes to wilt/char the lettuce. Drizzle dressing liberally over cut side and serve immediately.

Wine Corner Chapter 3

We have 2 from our affordable purveyor Trader Joe's...

Our first wine this week is our Sicilian friend Nero D'Avola. We tasted the Epicuro Vendemmia 2009 Nero D'Avola. This is a delightful pizza wine with a clear cherry color, a pleasantly sweet nose with a lightly tannic and soft berry-cherry taste. Vendemmia is the Italian term for the fall harvest time. Sorry the photo is a little dark...


Our second wine is labeled as Trader Joe's Reserve but it comes from Castoro Cellars in CA. This is the 2010 Carignane Paso Robles. Color is clear and dark purple, the aroma is peppery and the taste lead with the same peppery note in this tanninc, full bodied and long finishing red. I went right out and bought another bottle of this one. The Carignan grape seems to be one of the "red-headed step children". (pronounced "Karen-Yawn") I understand it to be a widely planted, high yield grape  but treated more as a workhorse blender. I liked this one really well and for $10 bucks I think it is a really nice big wine. Castoro had a 2008 on their website for $18 which might be interesting to taste side by side...

Butter & jam (OR Why I'll never loose that last 10 pounds)

In yet another exploration into foodie creativity I decided to make jam. And might as well make some butter while we are at it!

This was actually pretty easy. The hardest part is getting all the equipment together. I happened to have my mom's canning jars and canning pot "in storage" so I had pretty much everything. The other important item is a non-reactive pan--I used my big stainless steel All-Clad.


When we were visting the Finger Lakes NY wine country a few years ago, we were served a couple jams based with wine at the B&B we stayed at..I choose a Rhubarb-Chardonnay jam recipe to try from the Ball (jar) website:
4 C sugar
5 T Ball Real Fruit Instant Pectin
4 C chopped fresh rhubarb
1 750ml bottle of chardonnay
5 Plastic Freezer jars
**NOTE--when instructed to follow directions EXACTLY when canning; uh you better do that as you will see later!
I follow the directions and prep the sugar, pectin, chop the rhubarb and get to cooking it. My jars are heating up in the canner and I decide that I want my jam shelf stable and plan to hot water process after filling the jars. Now jars are hot, lids and rings are heated...time to blend up the fruit a bit more so out comes my boat-motor mixer to finish this task handily...
I cook a bit more until the desired consistency is achieved based on the spoon test--jam coats the back of a spoon. I take my jars out of the water and begin to fill them, wipe the rims and place the seals on the jars, add the rings finger tight and place back in the water bath. Jar one, jar two, jar 3 CRACK.
So maybe we will go ahead and stick to freezer jam. Having already lost an entire jar (a big one of course) I pull them all out of the water and finish filling. I wound up with 2 large and 2 small jars. I allow them to cool on the towel overnight and refrigerate one and freeze the others.
This is AWESOME jam, its still a little tart (even with all that sugar!!) and you can taste just a hint of the chardonnay. LOVE IT!
I plan to make another batch but I will follow the instructions EXACTLY next time :)

Now, what good is home-made jam without home-made butter? I grabbed a pint of heavy cream and a fresh baguette and away we go! The cream is from a dairy in Mt. Vernon, they don't "highly" pasteurize their milk so it actually tastes like something (even the skim tastes better, this is also the dairy I use when I made cheese but we will do that again another day).

Put the cream in your mixer. A stand mixer is better as it does take 15 or so minutes to whip completely then you don't have to babysit it.

After a few minutes on speed 7 it looks like whipped cream (duh) but then the solids begin to separate from the liquid. It gets grainy and there is liquid in the bottom of the bowl...
Once it was all separated I removed the solid butter  from the buttermilk straining through a bit of cheesecloth and then squeezed my butter into a ball.
One pint of cream made a one cup ball of butter and one cup of fresh buttermilk--incidentally, naturally low fat as you have separated all the butter fat OUT to create your butter ball.
The butter is creamy and smooth and tasty..I choose not to salt mine but you certainly can salt to taste during the last minute or 2 of whipping. Worth the effort for the wonderful taste and freshness and you know exactly what went into it.

Wine Corner (another chapter)

Our first wine from this weekend is a bold Italian red. Masi Campofiorin 2008 IGT Rosso Del Veronese
This deep ruby red colored wine with a ripe cherry and sweet spicy nose gave way to an even bigger cherry-berry softly tannic beauty. According to the label this wine is from the Verona area and made using the Appassimento method of partially drying the grapes on bamboo racks then double fermenting with fresh grapes--who knew? We really enjoyed it and in true Italian style served with cheese tortellini in white sauce to accompany our home-made grilled Italian sausage.

The next one is a blend from Aviator 2009 Yakima Valley AVA. We picked this one up at the St. Martins Wine tasting event a couple months ago. This blend is Cabernet Sauvignon 50%, Merlot 25%, Petit Verdot 10%, Cabernet Franc 10% and Malbec 5%. The blend reminds me of some of the "Old World" reds we sampled in our class and the use of Petit Verdot as a blender is the real common denominator. The Winemaker notes really say it all; complex, rich dark cherry, spice and vanilla--the spice was my first impression for sure. This one paired beautifully with grilled rib steak served Oscar style with petite lobster tail.

If you are not familiar with Oscar style--you are in for a treat. Rib Steak topped with al dente cooked asparagus spears, an oz or 4 of your desired seafood then drizzled with sauce Bearnaise.

Cut the tough ends off your asparagus spears and place in a shallow skillet just covered with water. Add a pinch of salt to the water. Cook to al dente while the grill-master attends to the meat.

I was lazy yesterday and used a packet of Bearnaise sauce with skim milk and butter and prepared according to directions while the asparagus cooked. Easy and "almost" as good as homemade...

Season your steak and using large kitchen shears cut down the center of the top of the lobster tails shell stopping when you hit the tail. Grill the tails in the shell along with your steak. These were the small tails you see advertised regularly for around $6 each and they finished in the same time that thick medium rare steak came off the grill. Pull the shells apart (they are hot; grasp each side and pull open to free the meat from the shell) pop the tail meat out, cut into bite size pieces.

Arrange a few asparagus spears on each portion of steak (we share a steak) then top with lobster and drizzle with 2 T of Bearnaise sauce.

Most of the time the seafood used is crab but shrimp and lobster are equally great. . Accompany with a fine  glass of wine and you need nothing more.